Woocommerce Backorder Badge Documentation
Woocommerce Backorder Badge
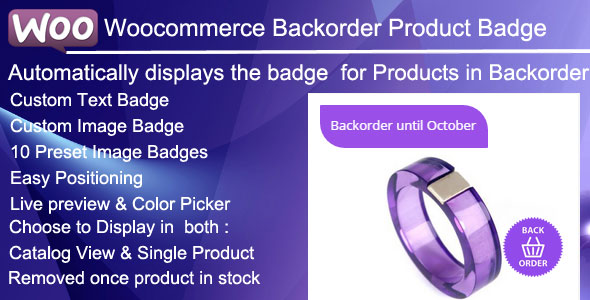
Create Backorder Badge for your Woocommerce Store
Backed Configure Backorder Badge
Display options for Single Product
Display options for Catalog View
Custom Text Badge
Text Custom Color
Background Custom Color
Preset Badge Images
Custom Badge Image
Live Preview
Color Picker
Easy Positioning – via Drag and Drop
Easy Full control via manual input for:
Position , Padding , Radius ,Opacity .
Buy it from Codecanyon View Plugin Demo
Downloading the plugin
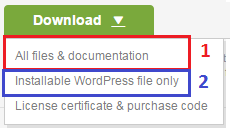
In the package downloaded from codecanyon the main zip file contains the plugin in zip file and the documentation folder NR 1 .Extract the zip plugin file and upload it in your wordpress site .
Or use the Installable WordPress file only which is the plugin file NR 2 .
Installing via WordPress admin.
After you have purchased the plugin go to wordpress administration area then on PLUGINS , ADD NEW , UPLOAD and browse to the zip file you downloaded and click INSTALL

Activate ‘WooCommerce Backorder Badges’ through the ‘Plugins’ menu in WordPress

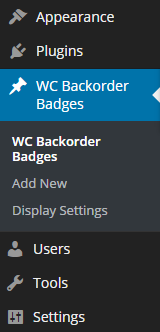
Once installed go to the administration area and click on WC Backorder Badges :
Creating Backorder Badge
Create New Backorder Badge
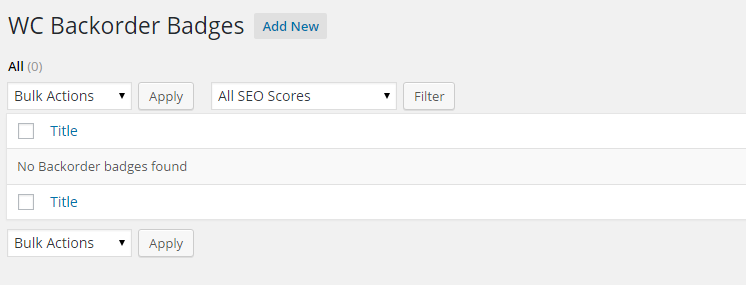
Add a Title to recognise it for the future use .

POSITION : the position of the badge. you can also set the position by dragging the badge on the “quick preview” .

On the right we see the “Quick preview” that shows in real time the changes done . You can easily place the badge by dragging it with the mouse
Important
The badge it is using position absolute , and for all the themes which are in responsive design it is recommended the position Top Left , so the badge will be responsive together with the product image . In case that the product image dimensions doesn’t not change in responsive design , the badge can be positioned where ever you desire.
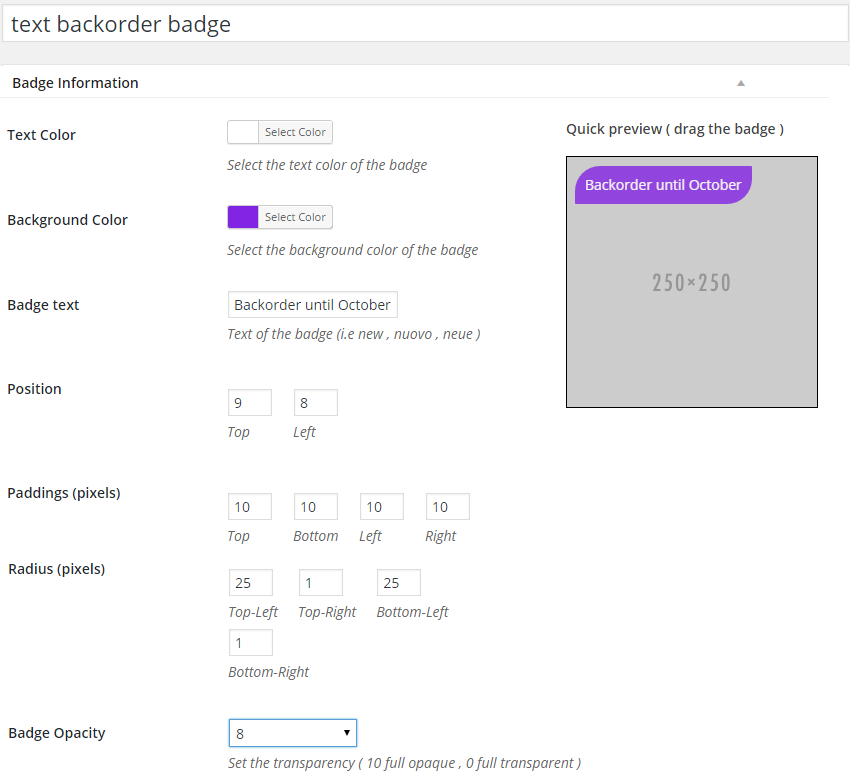
Create the Text Backorder Badge:
TEXT COLOR : you can select the text color of the badge via a color picker
BACKGROUND COLOR : you can select the background color of the badge via a color picker
BADGE TEXT : you can set the text to be displayed on the badge
POSITION : the position of the badge. you can also set the position by dragging the badge on the “quick preview”
PADDING : the padding of the badge
RADIUS : if you like to have rounded corners set the values here
BADGE OPACITY : set the opacity of the badge , 0 is full transparent ( the badge will not be visible ) , 1 is fully visible
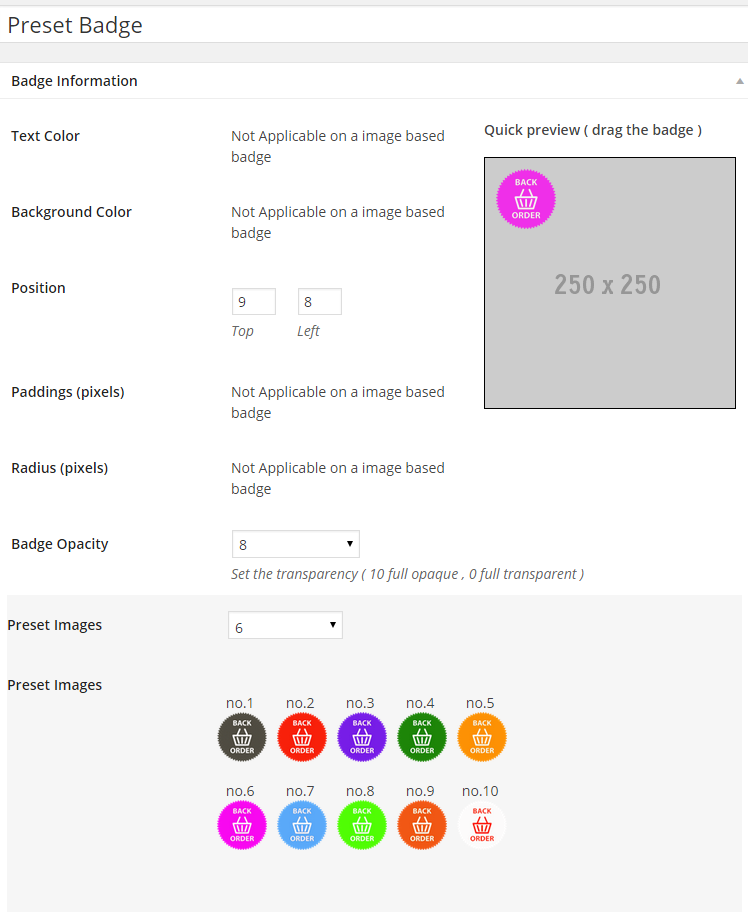
Creating Backorder Preset Image Badge
You can create Badge using the present Preset images or with a custom image which you can upload and use as Backorder Badge
Creating Custom Backorder Image Badge
You can create Backorder Badge using the your custom images which you can upload and use as Badge .

Display Settings Backorder Badge
Define where to display the Backorder badge – Selecting “Yes” or “No” to display the badge to catalog view and/or single product view
Important: After the fist installation of the plugin , you need to check first the Display Settings and Save.

FrontPage View
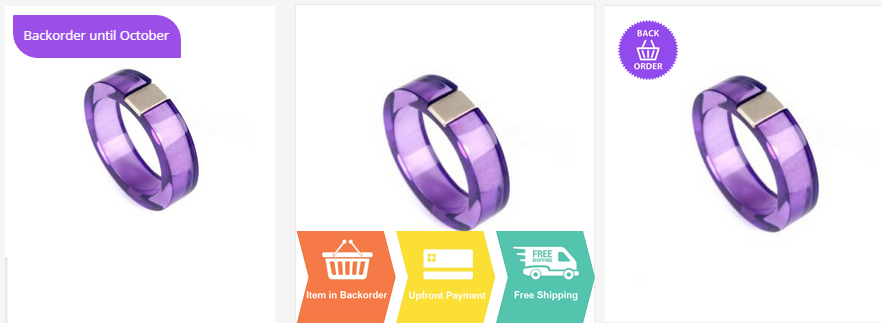
Catalog view – Backorder Badge Activated
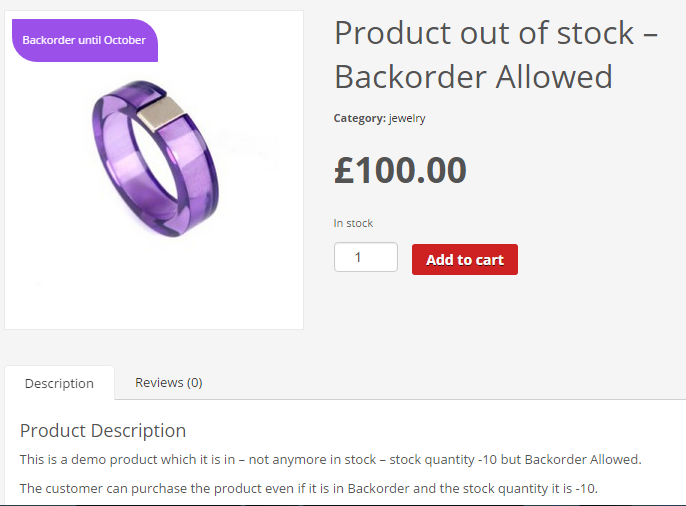
Single product view – Backorder Badge Activated
Information Backorder Badge Rules
The backorder badge will be displayed only on the products which have the option : Backorder Allow / Allow and notify customer and the stock quantity it is 0.
It will displayed only one Backorder badge the last new created .
It will not be displayed in products where the stock quantity it is bigger than 0 , means products it is in stock.
It will not be displayed in products out of stock where the backorder it is not allowed
Important – For the Responsive Themes
The badge it is using position absolute , and in case that will be selected to display it in Catalog view and also in single product view it is recommended the position “Top Left” , so the badge will be responsive together with the product image . In case that the product image have the same dimensions in catalog and single product view , the badge can be positioned where ever you desire.
Customers Question: Why I don’t See the Backorder Badge
Be Sure that you have Saved to the Display Settings choosing Yes for both options .
Be Sure that you have Products in Backorder Status Allowed
Be sure that you have cleaned the cache (website cache , server cache , browser cache).
Special Cases Backorder Badge
In same Rare Cases the Backorder Badge doesn’t Appear to a website .
This happen because the theme used have custom woocommerce files templates .
In those files the original hooks of the woocommerce plugin are not used .
As the Backorder Badge Plugin it is using few of those hooks which in your theme woo theme files may be it is missing .
Exist a way to fix it by adding a shortcode to the woo theme files .
The shortcode to be added it is the below :
<?php gema75_show_product_loop_new_bcko_badge (); ?>
You Need to identify the file which display the products and add this line before the title code .
Usually the file for the catalog view it is located to your theme folder in the woocommerce /content-product.php
and for the single product view the file is woocommerce /content-single-product.php .
In same cases the theme developers use even other files depending on how they code the theme .
Update the Backorder Badge Plugin
Check to be notified if new releases of the plugin will be published on the Codecanyon.
Update the Badge plugin to the last version downloaded from http://codecanyon.net/item/ code using the ftp client and replacing the files in the plugin folder.
Support Backorder Badge Plugin
Please read carefully the Plugin Documentation before asking Support !Thank You
Free Support for my items includes:
* Responding to questions or problems regarding the item and its features
* Fixing bugs and reported issues
* Providing updates to ensure compatibility with new software versions
Free Support does not include:
* Customization and installation services
* Support for third party software and plug-ins
* Support for third party Themes
If your theme is designed with missing default Woocommerce hooks , or those hooks are added to a different position , i will help you sure but the support will not be included to the Free support .
You can choose to hire me to support You :
Using my Codeable Profile Link – present in the sidebar , opening a task with the value of 20$ .
