Woocommerce Wish List Plugin Documentation
This plugin Offer to your customers the possibility to add the products of your woocommerce store to a wishlist.
Displayed as slide in&out tab , always visible , possibility to share their wishlist if are loged in in the social media .
Possibility to the wishlist in 2 positions top&bottom of the site ,visible to catalog & single product.
The products are displayed as slider in Responsive Design .
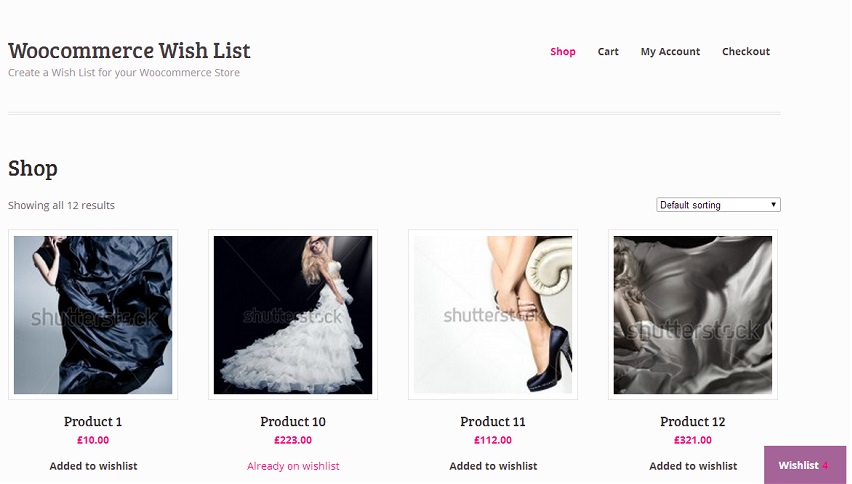
Each product inserted to the Wishlist , have displayed image,title,price and also it is linked to the product .
Each product can be added to the cart from the wishlist panel , or removed from the wishlist.
Can be also removed all the products inserted to the wishlist with just one click "Remove all".
- Live Link : Click Here
- created: 05/11/2014
- latest update: 05/11/2014
- by: Gema75
- email: gema75@gema75.com
Thank you for purchasing the plugin.
Should you have any questions, leave a comment on the comment section of the plugin or write me directly to gema75@gema75.com
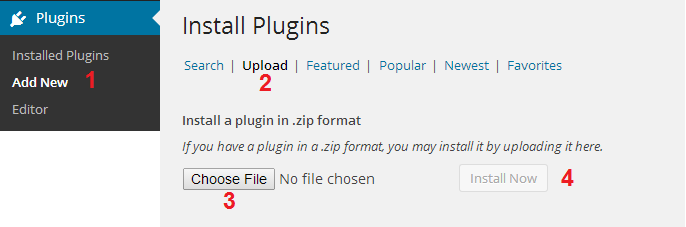
Installing the plugin
Installing via Wordpress admin
After you have purchased the plugin go to wordpress administration area then on PLUGINS , ADD NEW , UPLOAD and browse to the zip file you downloaded and click INSTALL
Activate 'Woocommerce Wishlist ' through the 'Plugins' menu in WordPress
Wish List Options
Click on WC Wish List to Configure the Plugin
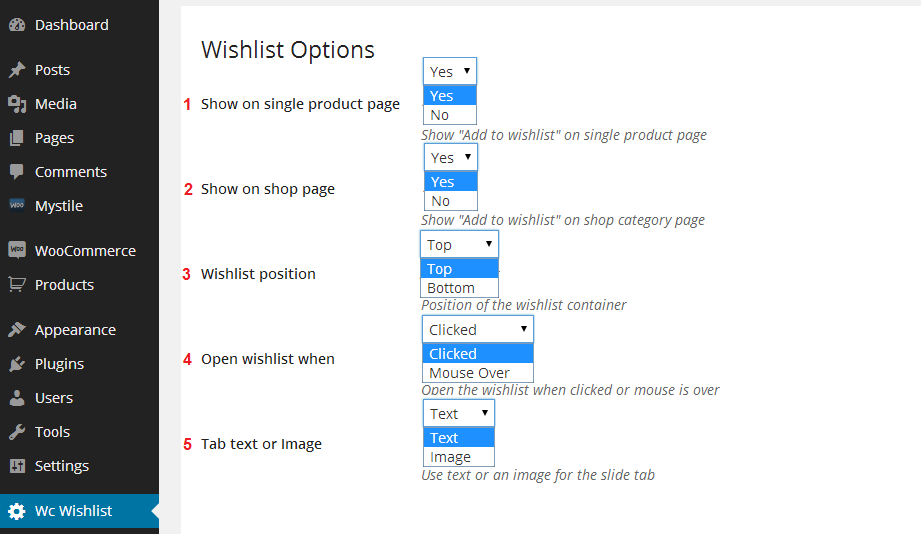
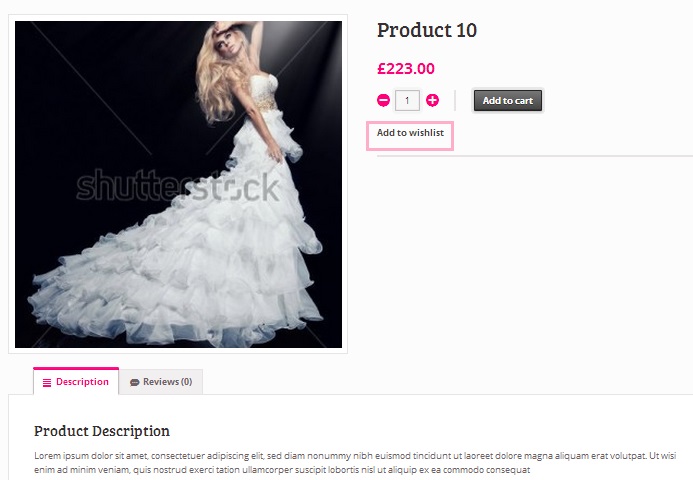
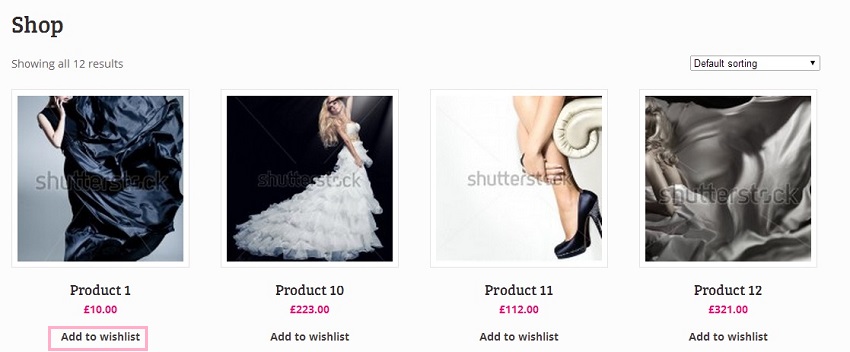
1.Show on single product page
Select Yes/No if the Wishlish text sample "Add to WishList" will be displayed to the single product page .
If selected "Yes" will be displayed like this in the shop page :
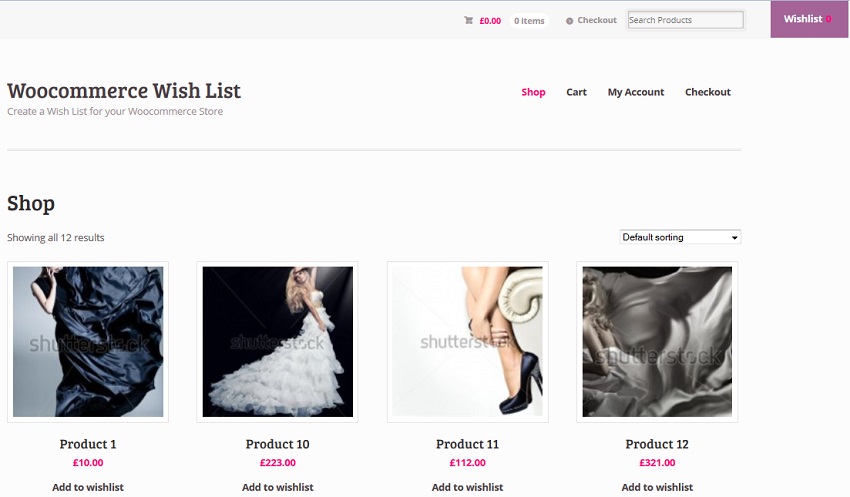
2.Show on shop/catalog page
Select Yes/No if the Wishlist list text sample "Add to WishList" will be displayed to the catalog page as shop page or category page.
If Selected "Yes" will be displayed like this in the shop page :
3.Wishlist position
Select the position to display the WishList , top or bottom
Top position selected
Bottom position selected
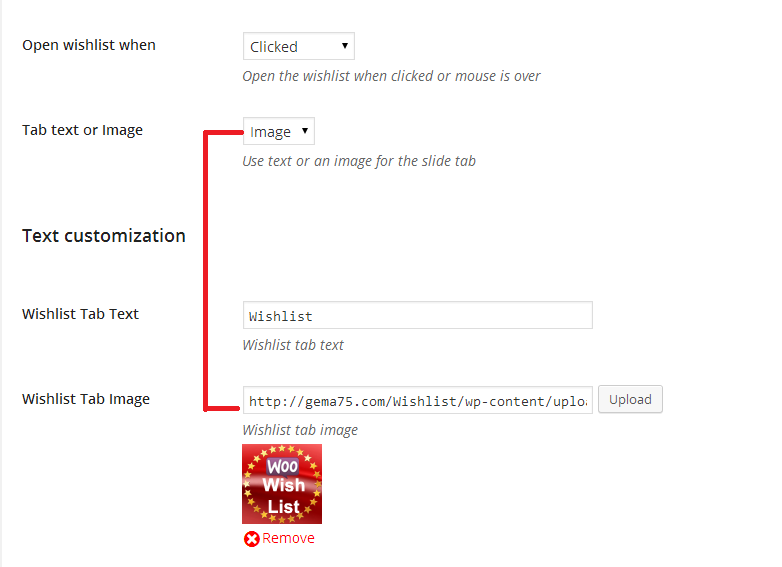
4.Open wishlist when:
Select the way to open the Wishlist , on mouse over or on click
5.Tab text or image
Define what will be used for the Wishlist header tab , an image or a text .
To display the tab of the wishlist as image:
Select from dropdown the "Image" option
Upload you image and Save .
Frontend wishtlist with image option .
![]()
To display the tab of the wishlist as test:
Select from dropdown the "Text" option
Write the text to "Wishlist Tab Text".
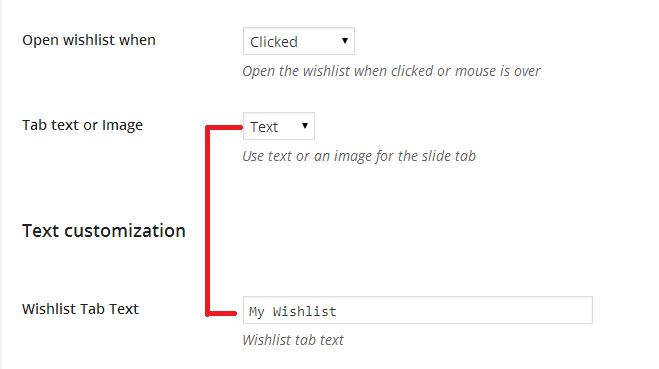
Frontend wishtlist with Text option .
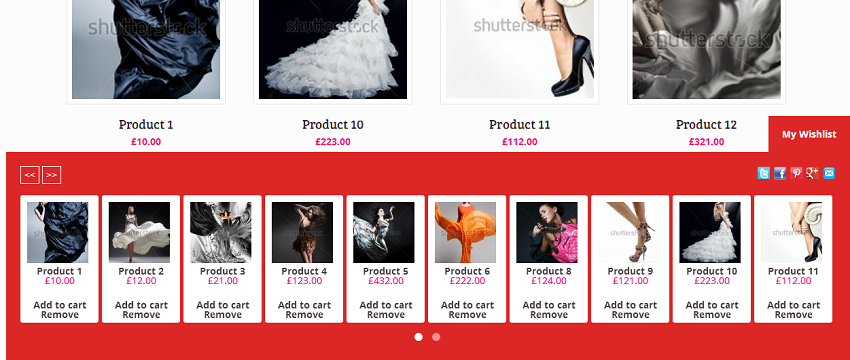
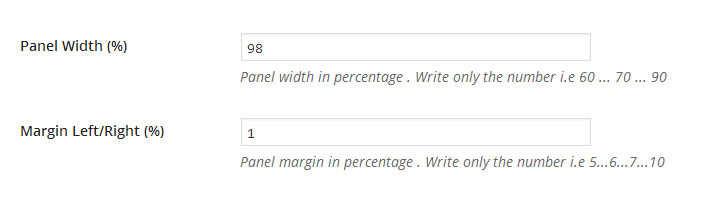
Wishlist Panel Width & Margin
These settings can help also in case that the theme it is not displaying properly the Wishlist panel .
Panel Width
Panel width in percentage : Insert only the number example - 100 to have a full width , or less to example 98 , 95 , 90 to have a panel little than full width .
Panel Margin
Margin Left/Right in percentage: Insert only the number example - 0 or others as 1,2,3,... to set the margins left and right for the panel.
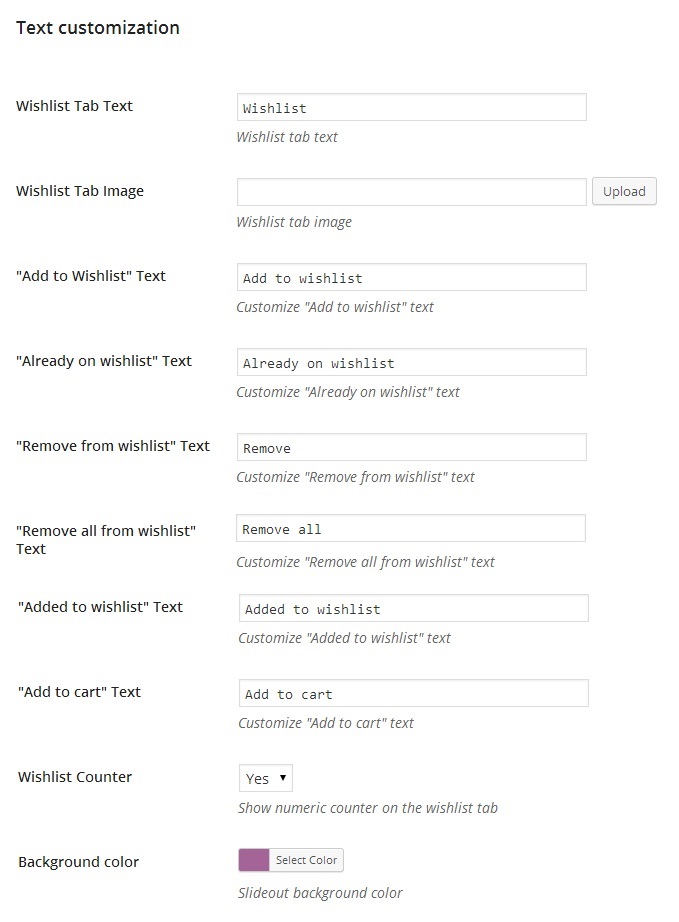
Wishlist text customization
Change the text which is displayed using this plugin .
Upload an image to display as header ta for the Wishlist .
Wishlist Counter - Display or not the counter of products added in the Wishlist
Color picker for the color background
Custom CSS
The plugin will use mostly you theme css styles , as doesnt have too many CSS styles , but in case that you need to customize the CSS you can use the following CSS classes:
The Next Prev buttons to scroll the wishlist: .gema75_wc_wl_owl_next , .gema75_wc_wl_owl_prev and .gema75_wc_wl_owl_next:hover , .gema75_wc_wl_owl_prev:hover
The wishlist number counter : span#gema75_wc_wc_count_badge
Remove all text : a.gema75_removeAllFromWishlistButton
Remove & Add to cart links from wishlist : a.removeFromWishlistButton , a.add_to_cart_button
The text "Already on wishlist" : span.gema75_wc_wl_already_on_wishlist
Single item in wishlist : #gema75_wishlist_list .owl-item div
Social share icons : #gema75_wc_wl_social_icons and ul#gema75_wc_wl_social_icons li
Social images : ul#gema75_wc_wl_social_icons li img
Template Override
This plugin uses some separate template files so you can customize the design .
Also the plugin checks if you have the files named as the list below inside a folder "wishlist_templates" on your theme .
- share_buttons.php
- slideout.php
- slideout_footer.php
- slideout_header.php
- wishlist_share.php
If inside your theme a folder named "wishlist_templates" and inside that folder will find the files named in the list then the plugin will use your file instead of its own .
In the folder "wishlist_templates" , there it is also a folder named "social_icons" and inside there are the files used as social icons . In the same way you can change the social icons .
In this way you can customize the design of the plugin .
Support
The plugin is self explanatory but should you require help or support let me know via the plugin`s comment section on the Codecanyon area, or write me directly to gema75@gema75.com
Wishlist Social Sharing
The social Share it is activated only if the customer it is logged in to the store.
Can be defined the link of a Logo or Image for the Facebook and Pinterest sharing:The Wishlist can be shared from customers in the social links as :
Select "Yes" or "No" to define for each social link sharing .
The list of icons will be displayed to the Wishlist in the frontend for the logged customers .
Insert the desired text to be displayed for each social link or email.
1.Facebook
Below you can see how the Facebook will shown .
2.Twitter
Below you can see how the Twitter will shown .
3.Google+
Below you can see how the Google+ will shown .
4.Pinterest
Below you can see how the Pinterest will shown .
5.Email
Below you can see how the Email will shown .